Step 1— Buy a new genuine Sony Xperia Tablet Z, Xperia Tablet S Battery
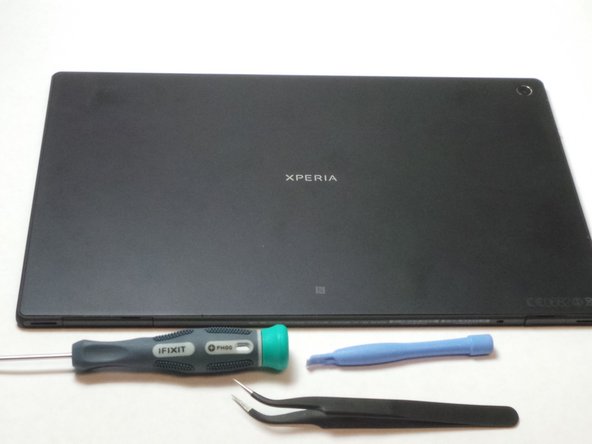
Step 2 — Gather all Tools.
- Tools you will need is the Phillips #00 precision screwdriver
- The Plastic Opening Tools
- And the tweezers
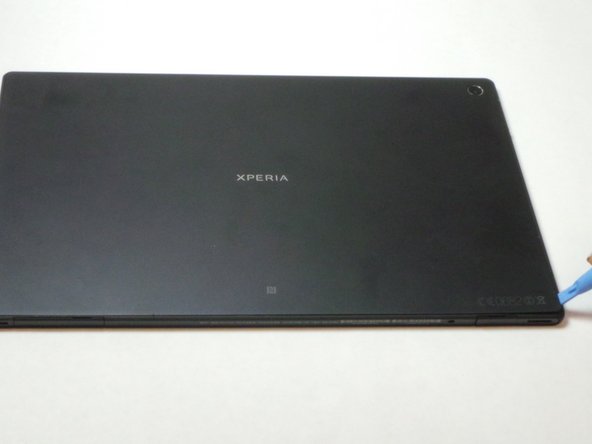
Step 3 — Removing the Back cover
- Place the plastic removal tool in the corner of the object.
Step 4 — Detaching the back cover adhesive.
- Slide the plastic removal tool along the edges.
Step 5
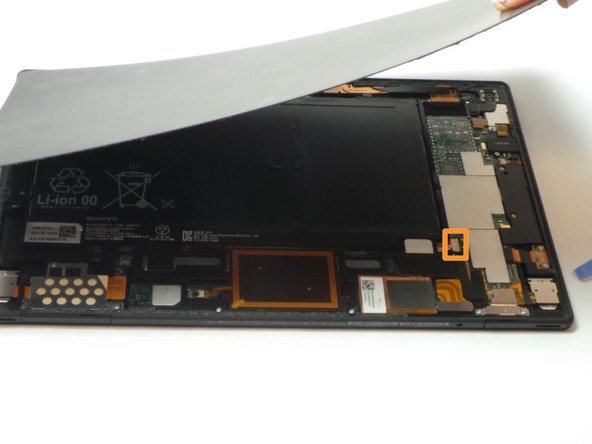
- Remove the cover
- Disconnect the battery, to avoid electric shock, by pulling up on the white plastic shown with the orange box.
Step 6 — Revealing hidden screw.
- In the top right corner of the device remove the piece of tape connecting the front camera to the motherboard.
- Then disconnect the camera from the motherboard.
- Lift and remove the front camera to expose hidden screw to replace battery.
- Remove all screws connecting the battery to the tablet. Location of screws shown with red circles.
- Then lift the left side first then detach the connection in the lower right corner. Connection shown with orange box.
- Completely remove the battery.